
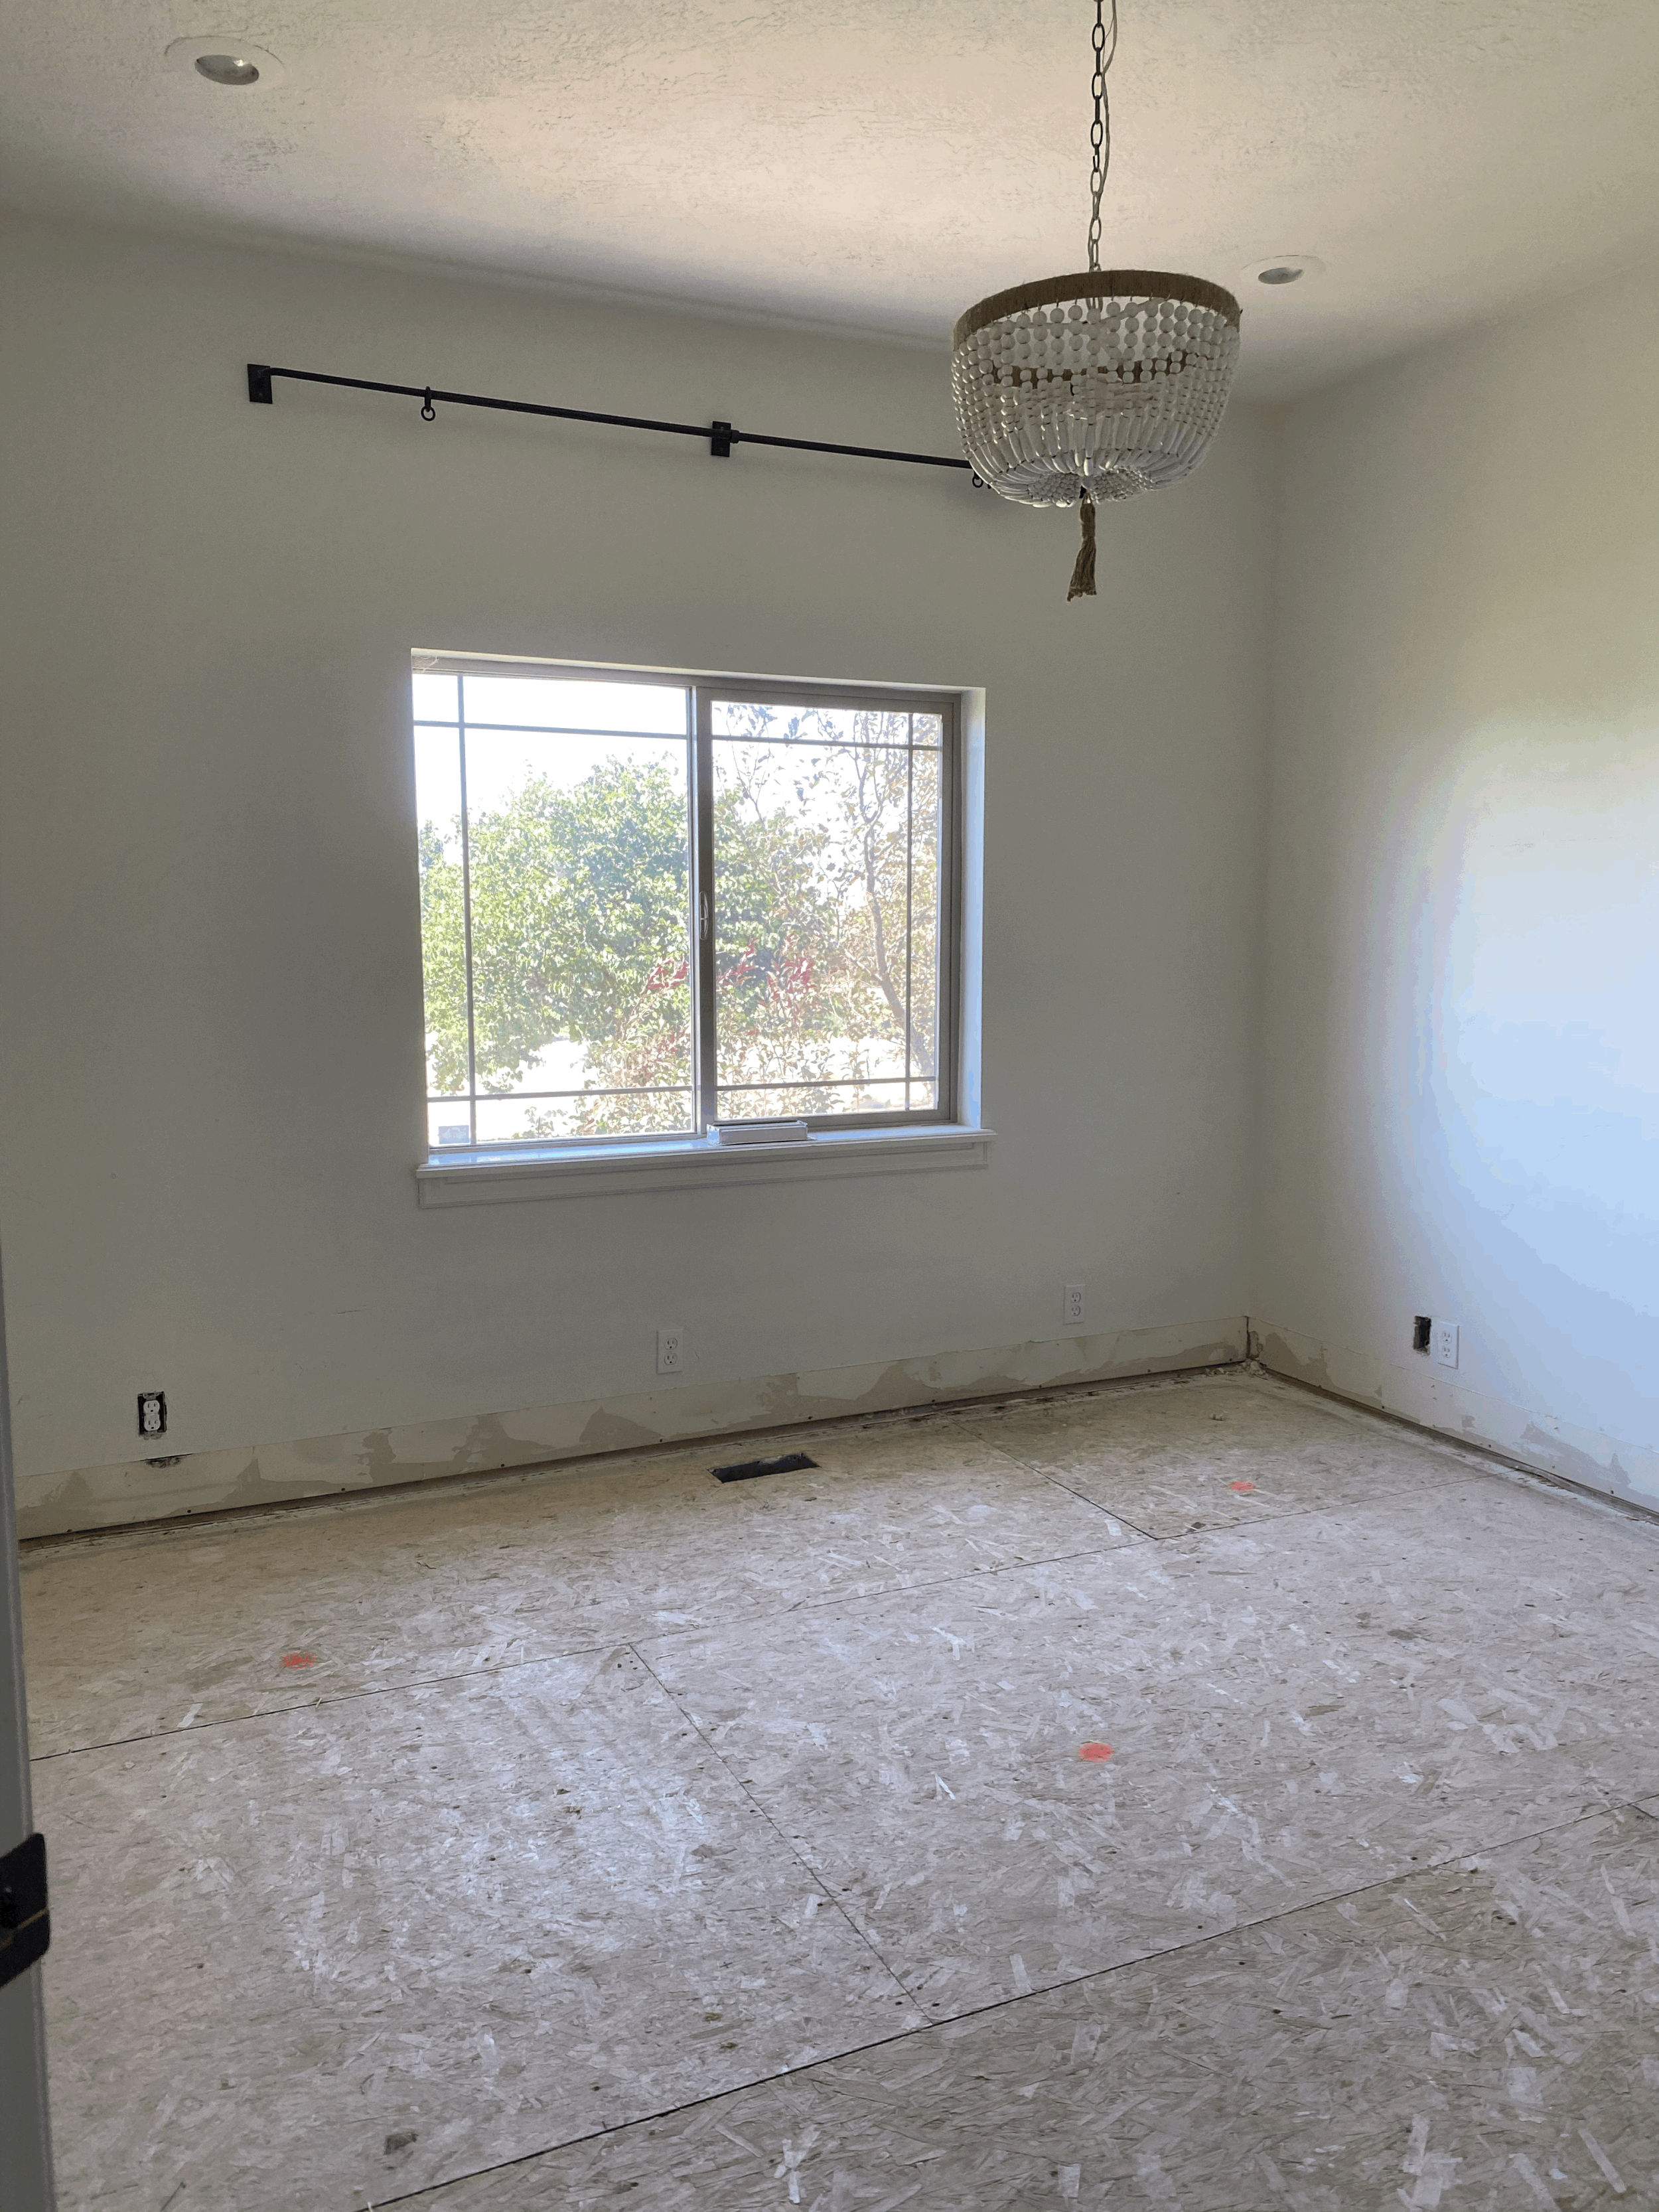
Spring ORC Week 3
Today I’m excited to share with you the tile installation in our new laundry room! Before we even started this project, I knew I wanted to use a stone that brought some character and a sense of history to the space, and was very drawn to some tumbled natural stones. I have followed Jill Sharp for years, have always loved her design aesthetic (her House Beautiful feature way back in 2010 is still one of my favorites!) and had saved a few images from her work. In a couple of her homes, she has used Belgian Bluestone with a tumbled edge and I have been obsessed with the look!

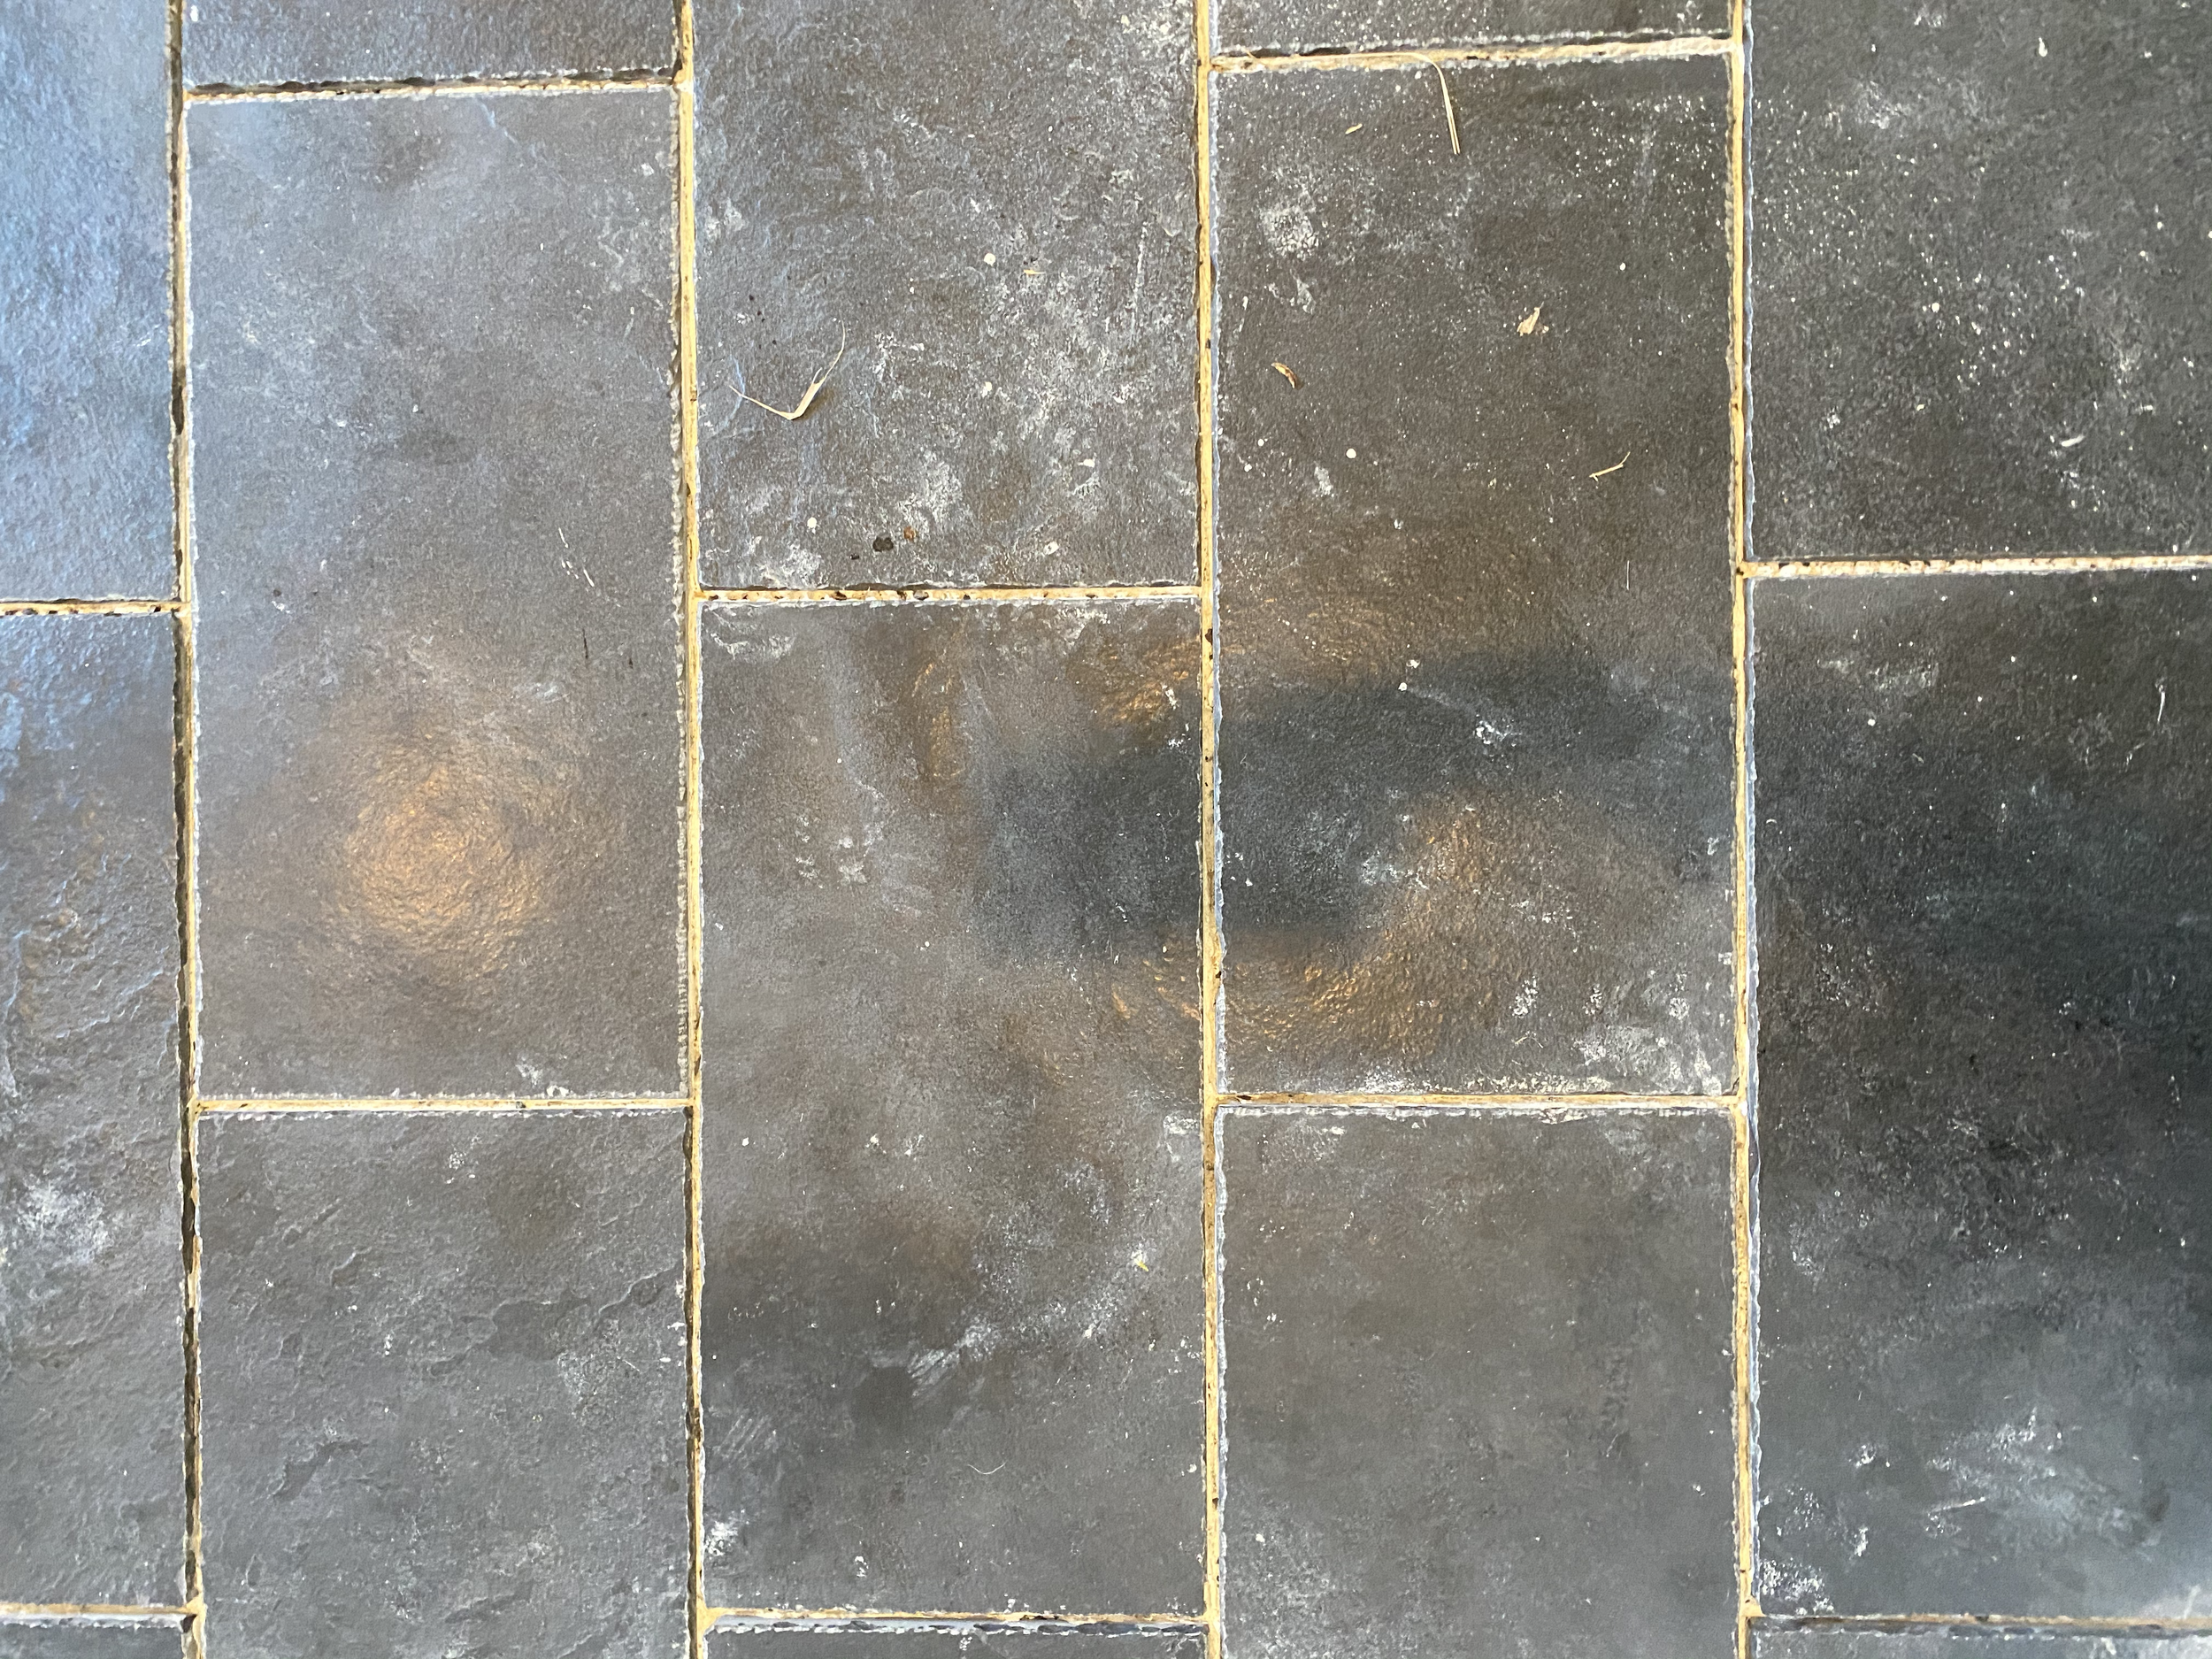
I knew I wanted it, but I also knew I didn’t want the price tag. Unfortunately there are very few places that sell tumbled limestone or bluestone here in the states, and to have stone shipped from Europe was going to be outrageous in cost for us. So I got creative! I went and picked out a limestone from Floor and Decor. These were the 2 options I liked:

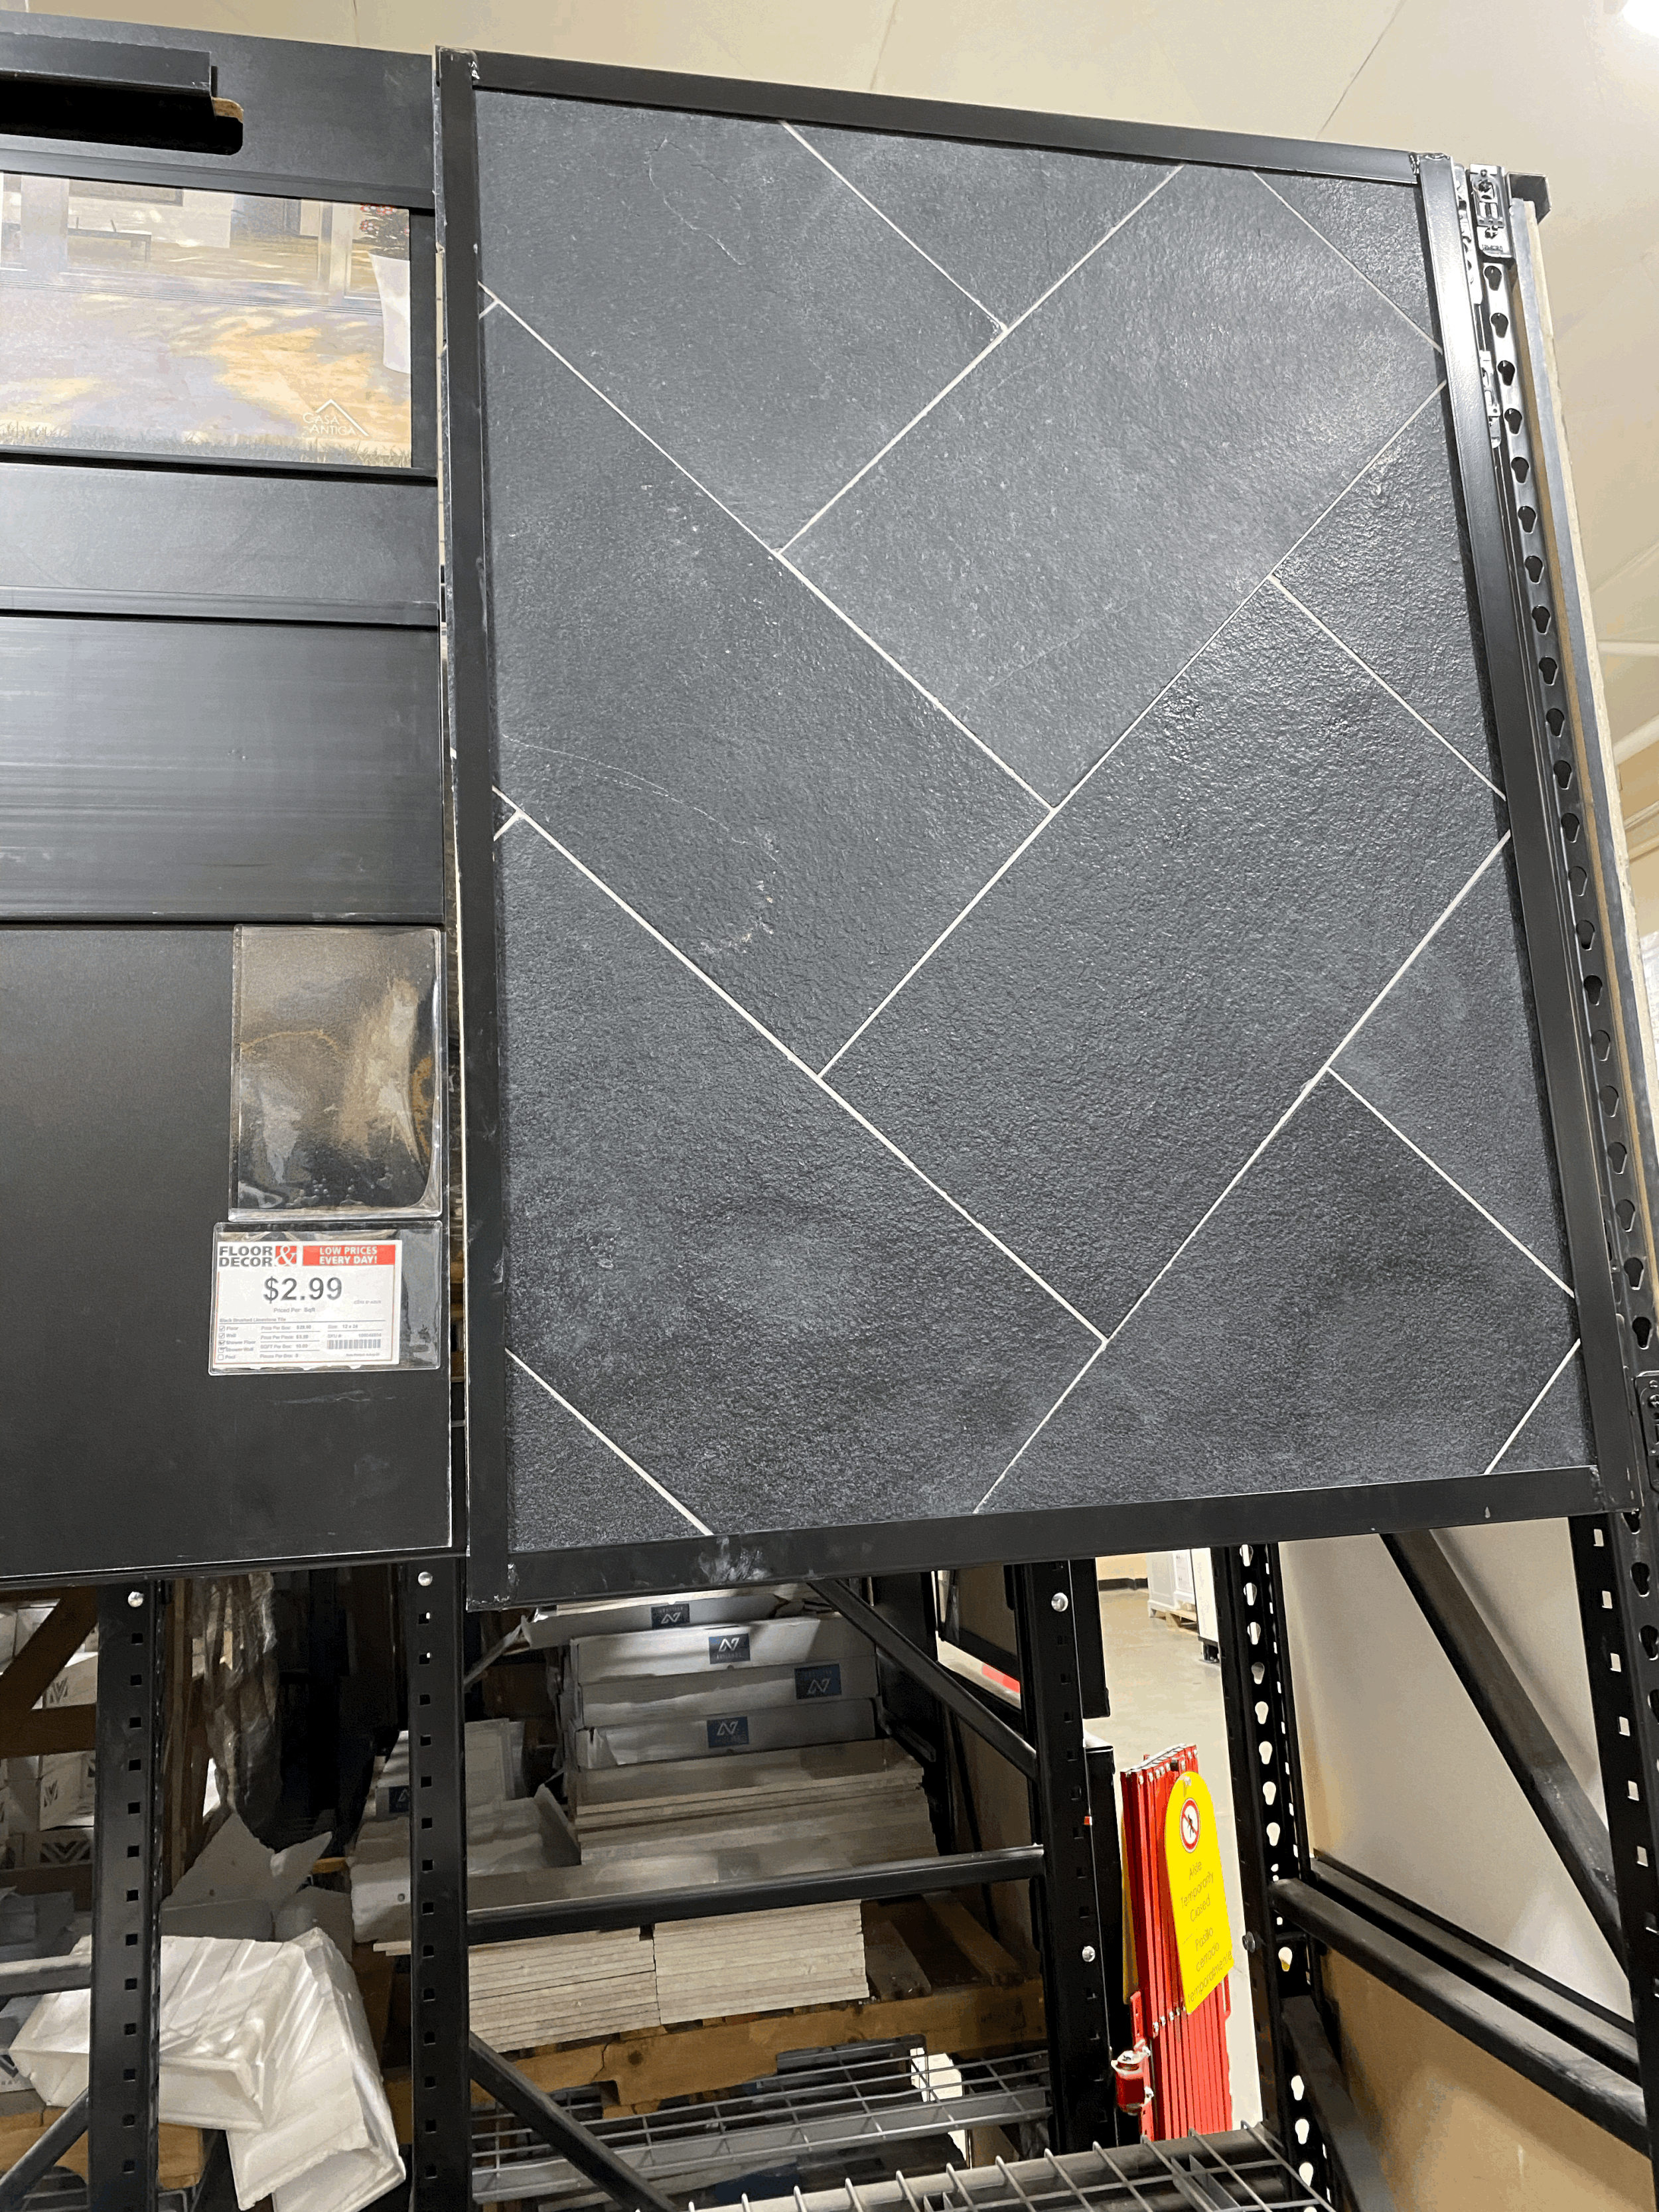
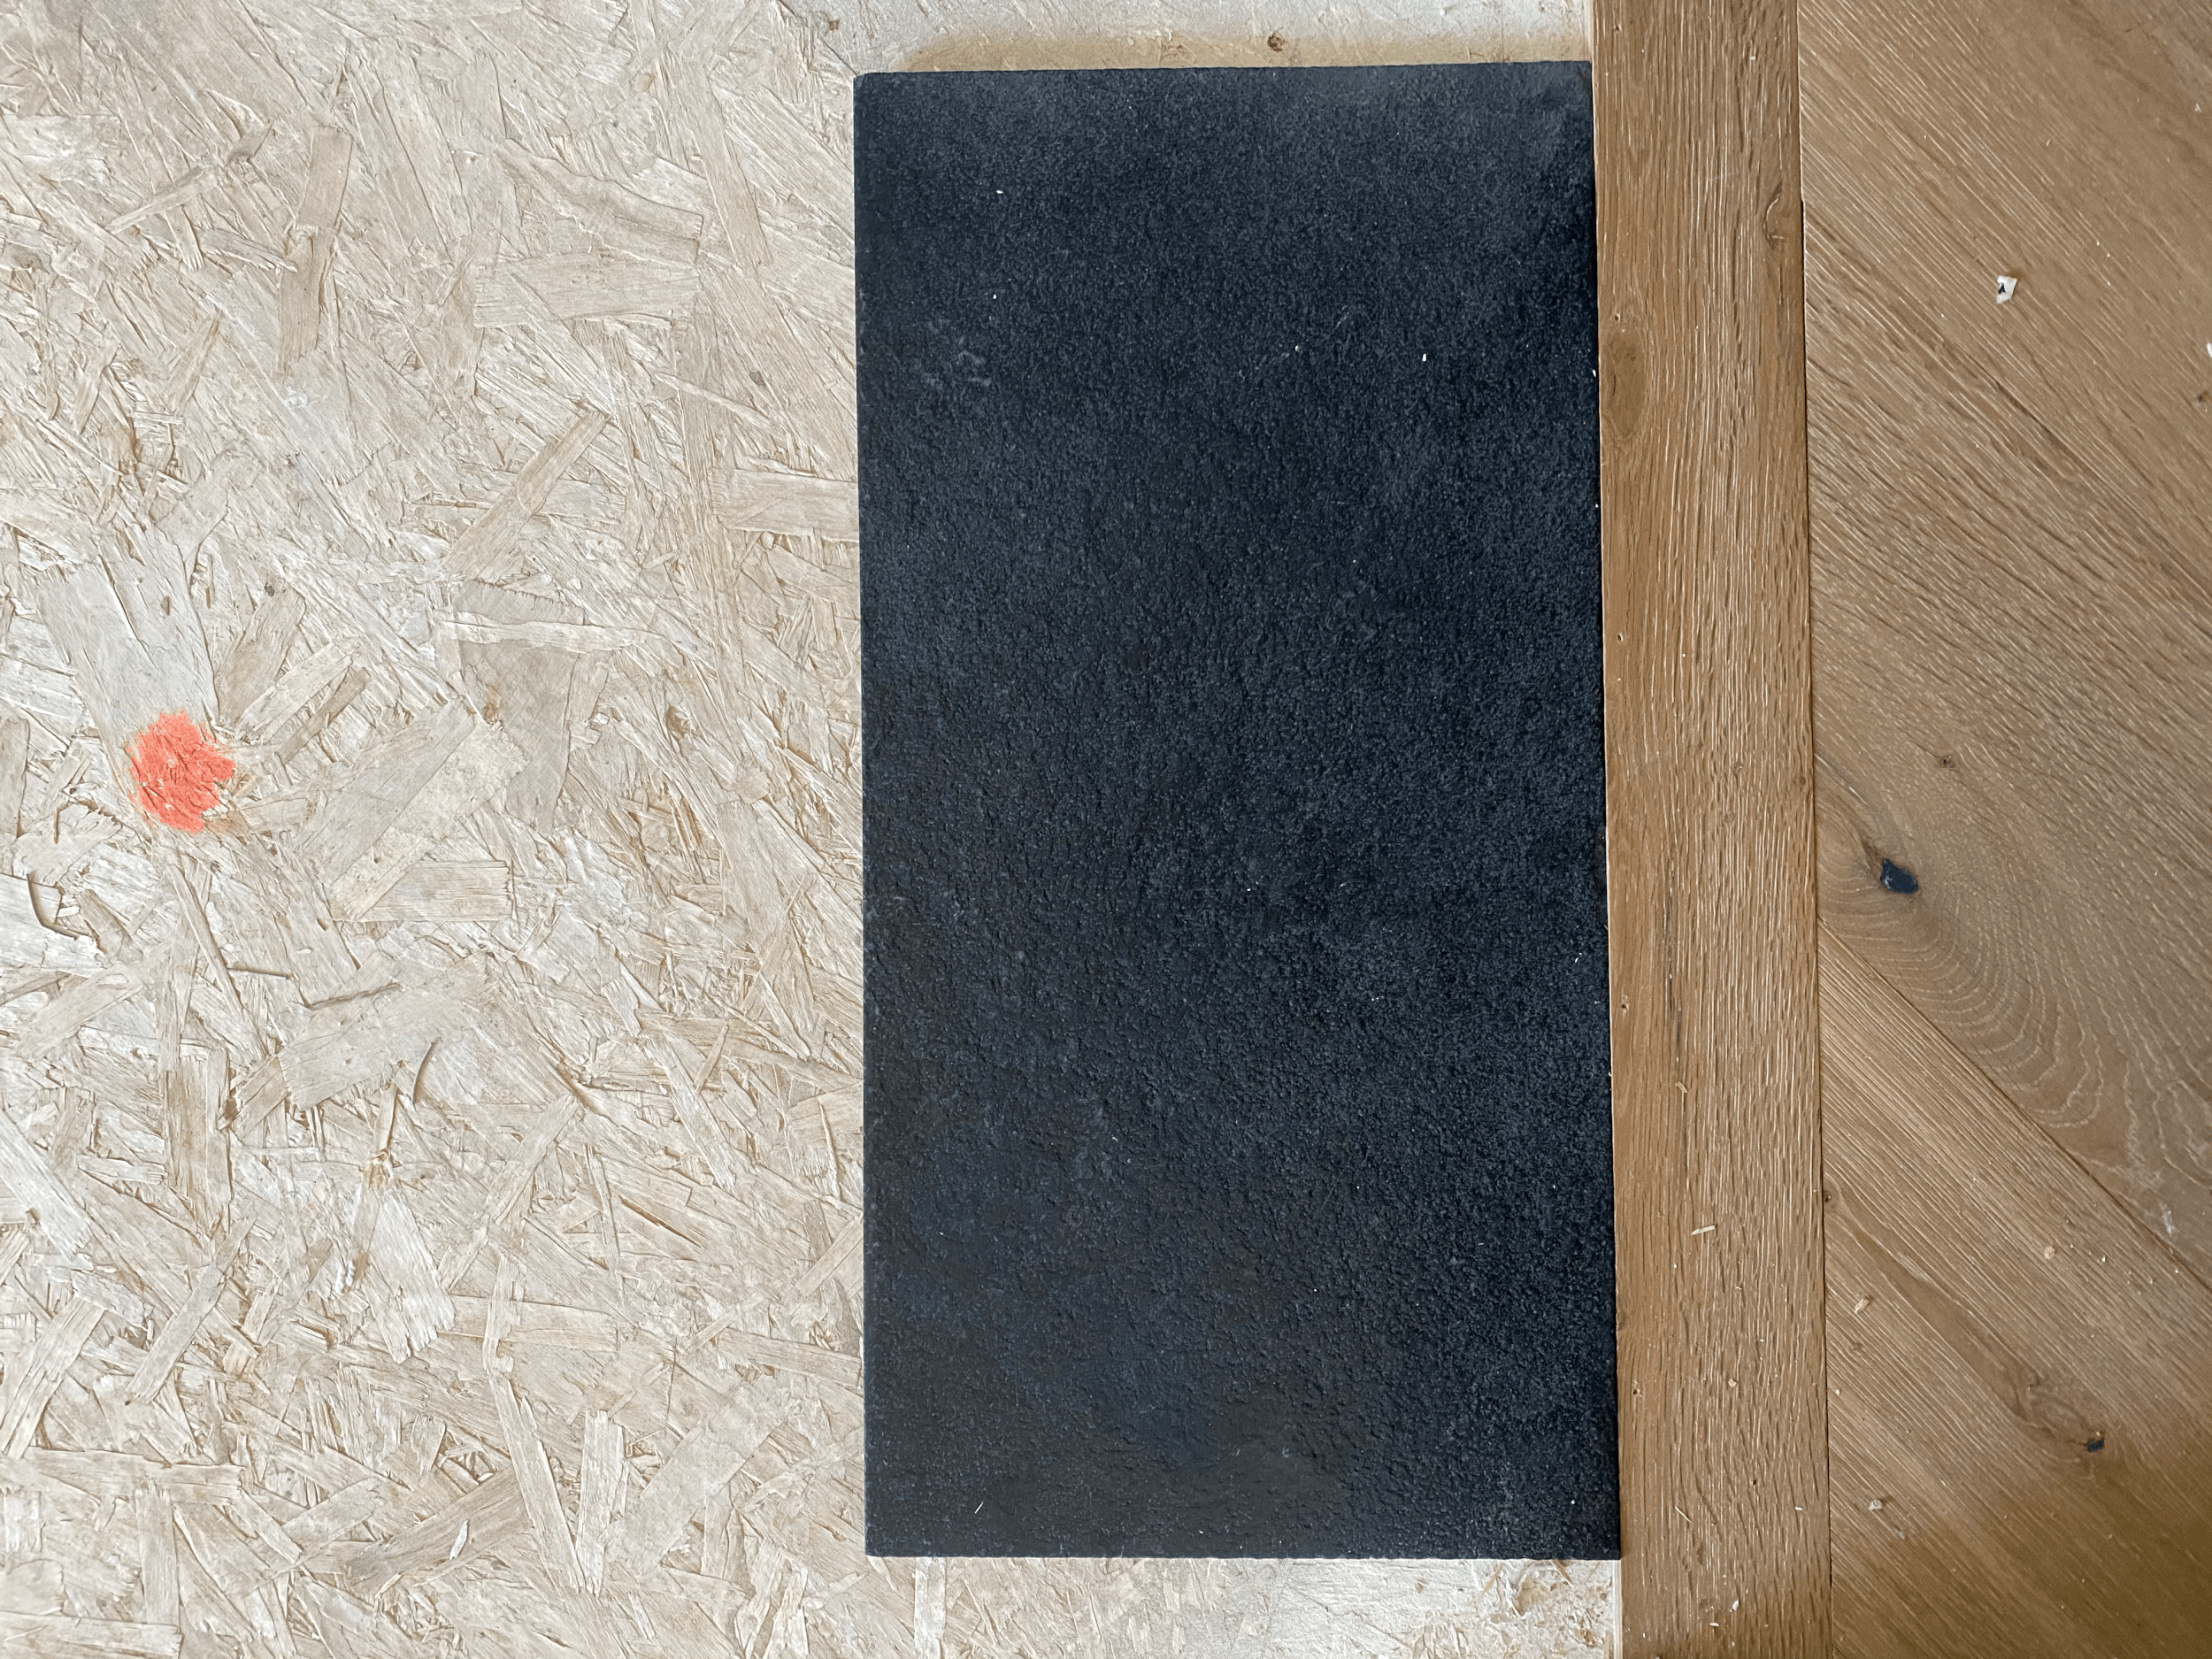
I ended up going with the bottom (black) limestone. It has such a pretty yet raw texture and although it was slightly darker than what I had in mind, I was more drawn to it than the lighter grey for the space. I brought a sample home and compared it to my white oak floors where the two would meet. DONE!
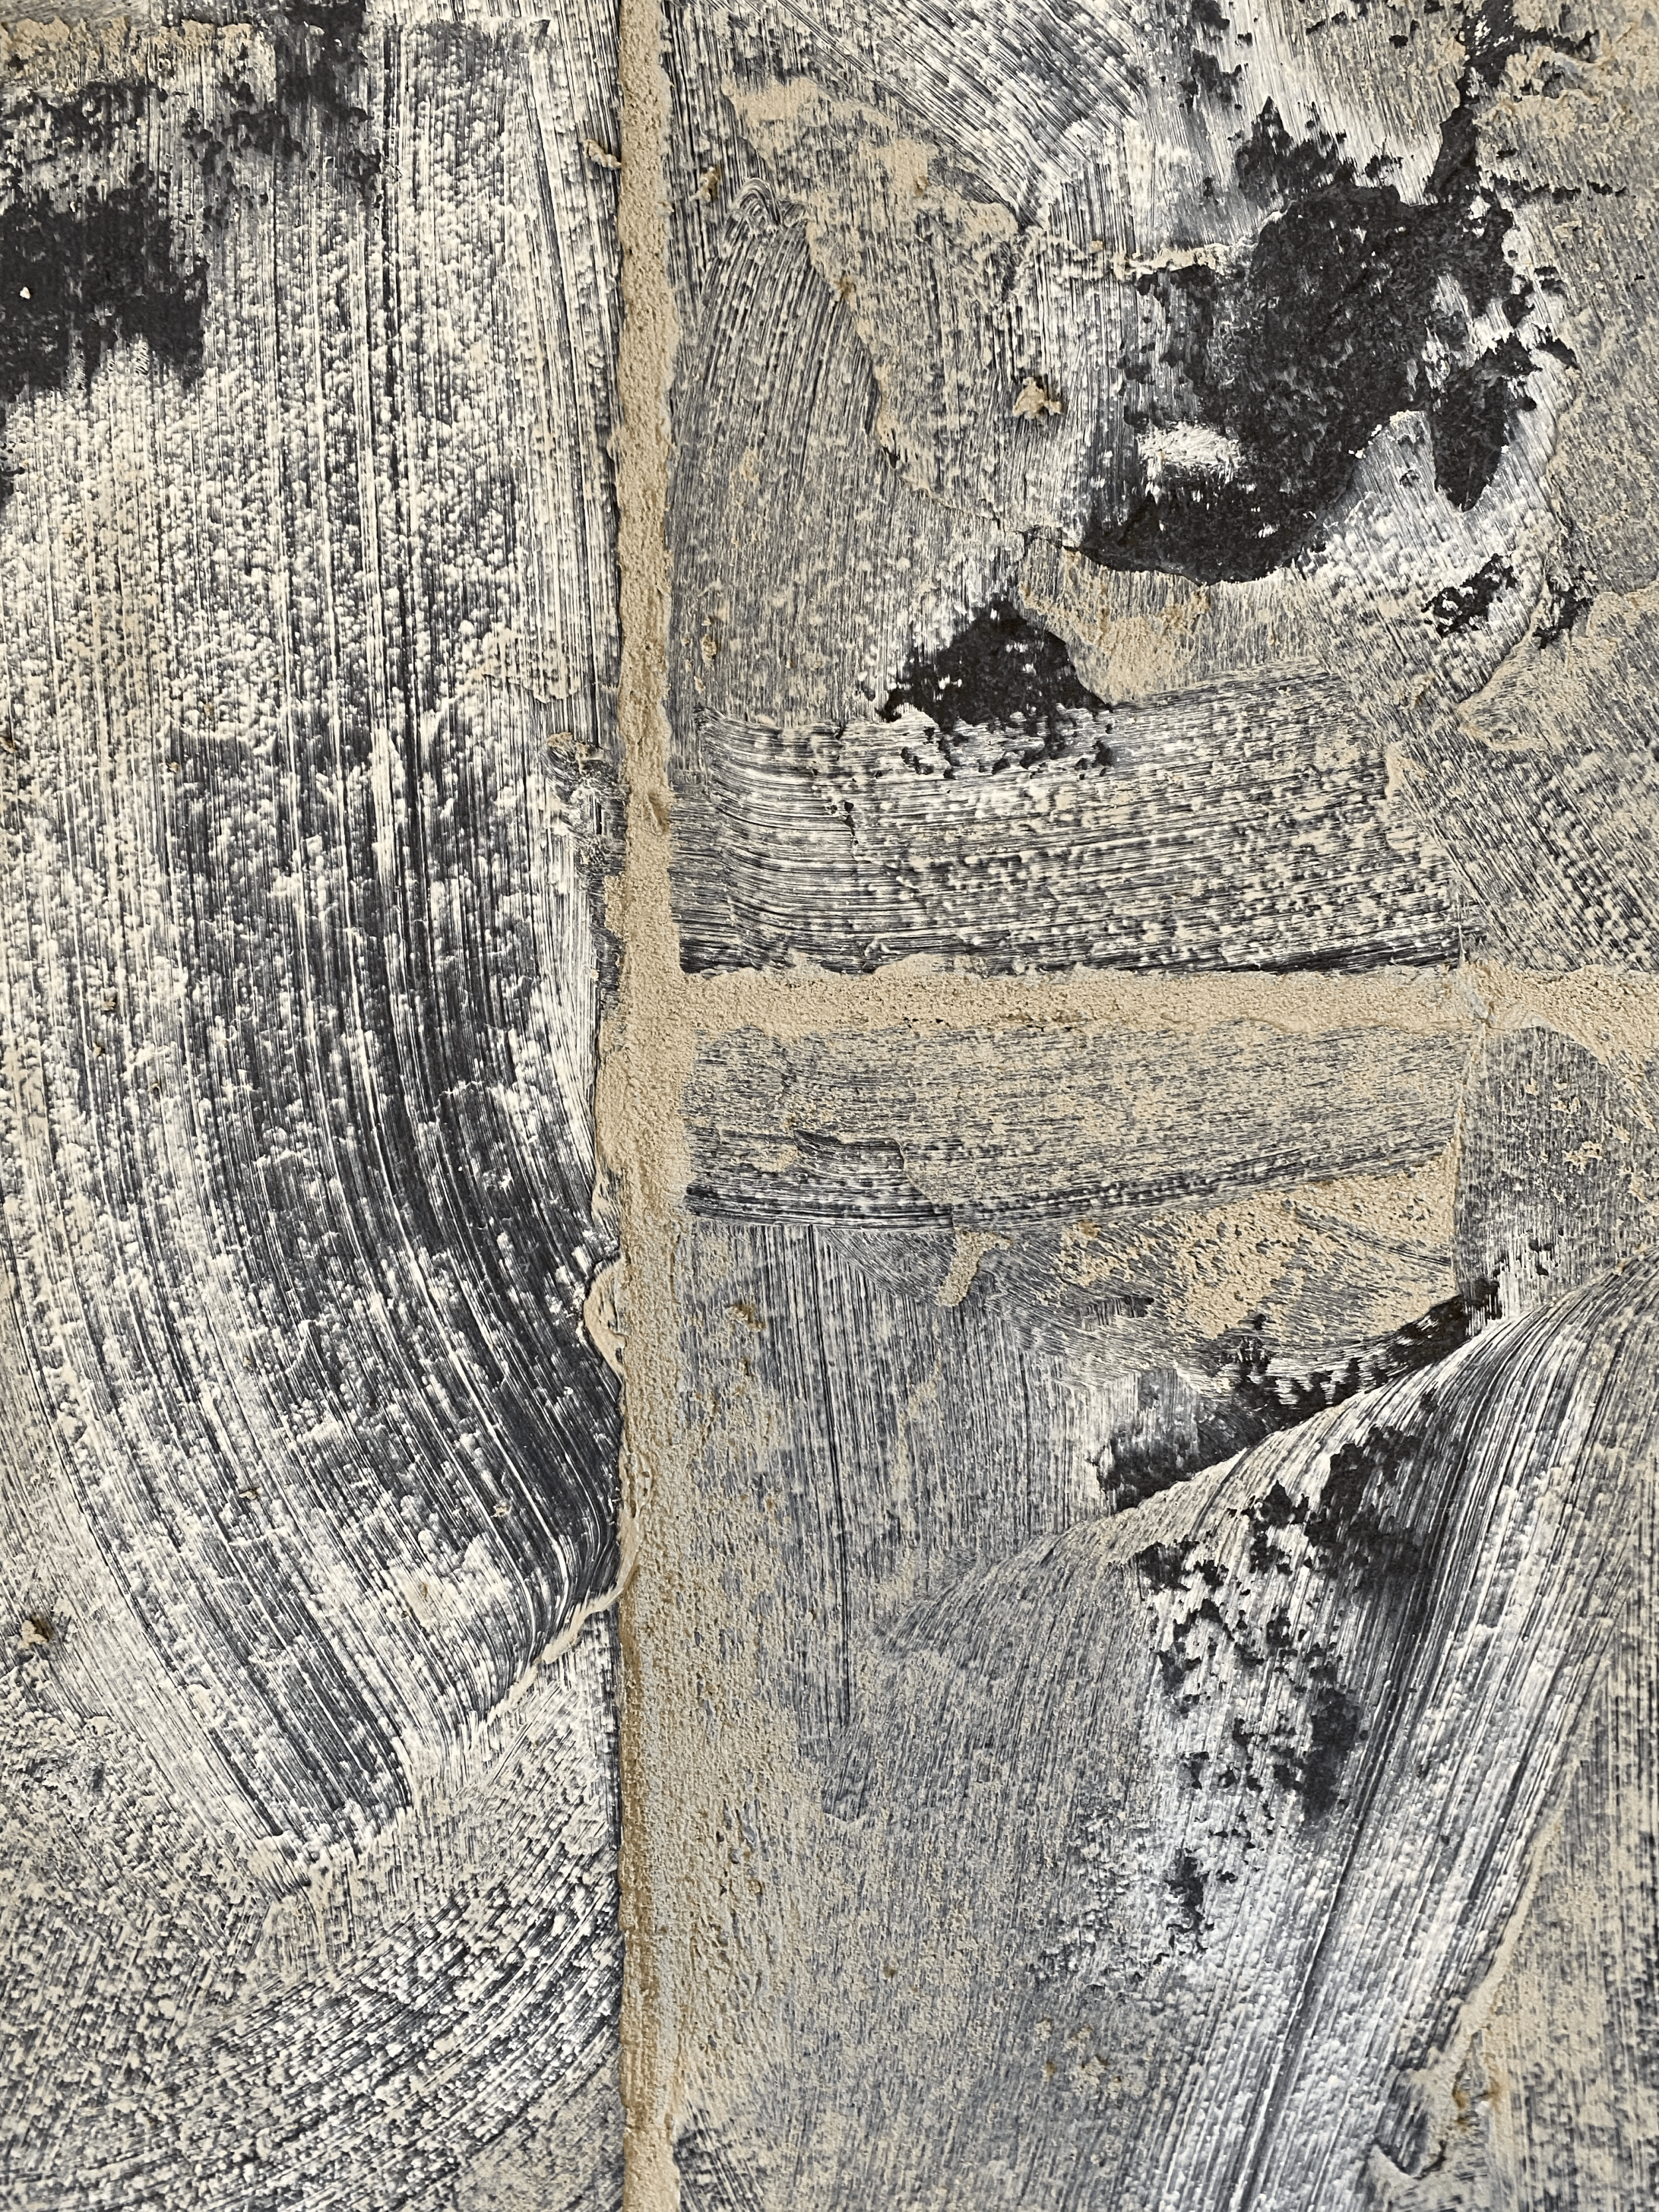
After prepping the floor, I laid all of the tiles in the middle of the room and then had the Mr. help with all the cuts around the edges. Then I got to chiseling. Yes, CHISELING. With a lot of hard work and some MAJOR back and knee aches, I chiseled each stone in our laundry room by hand (while listening to Def Leppard on repeat…will listening to a British rock band while chiseling stone bring a British vibe to my laundry??? That remains to be seen but I sure as heck hope so!). It was such a pain, but I knew the chiseled edges would bring that old tumbled look you see in the Belgian country houses.
Now I am not a professional tile setter and although I’ve laid a bathroom or two in my day, I know I’m an amatuer. I thought that chiseling the tiles would be easiest once they were set in place. And with the exception of one tile my third row in, I didn’t break a single tile. However after I popped the broken tile out and set another, I proceeded to break the other tile too! So I took that one out and decided to chisel on a folded up towel before setting. I proceeded to break TWO more tiles, and all of these broke on my last stretch of chiseling of course! I was literally down to my last FULL tile, down to my last bit of patience, and sweating bullets I would break it again, but luckily it came through unscathed.
Here’s a look at the down and dirty process:
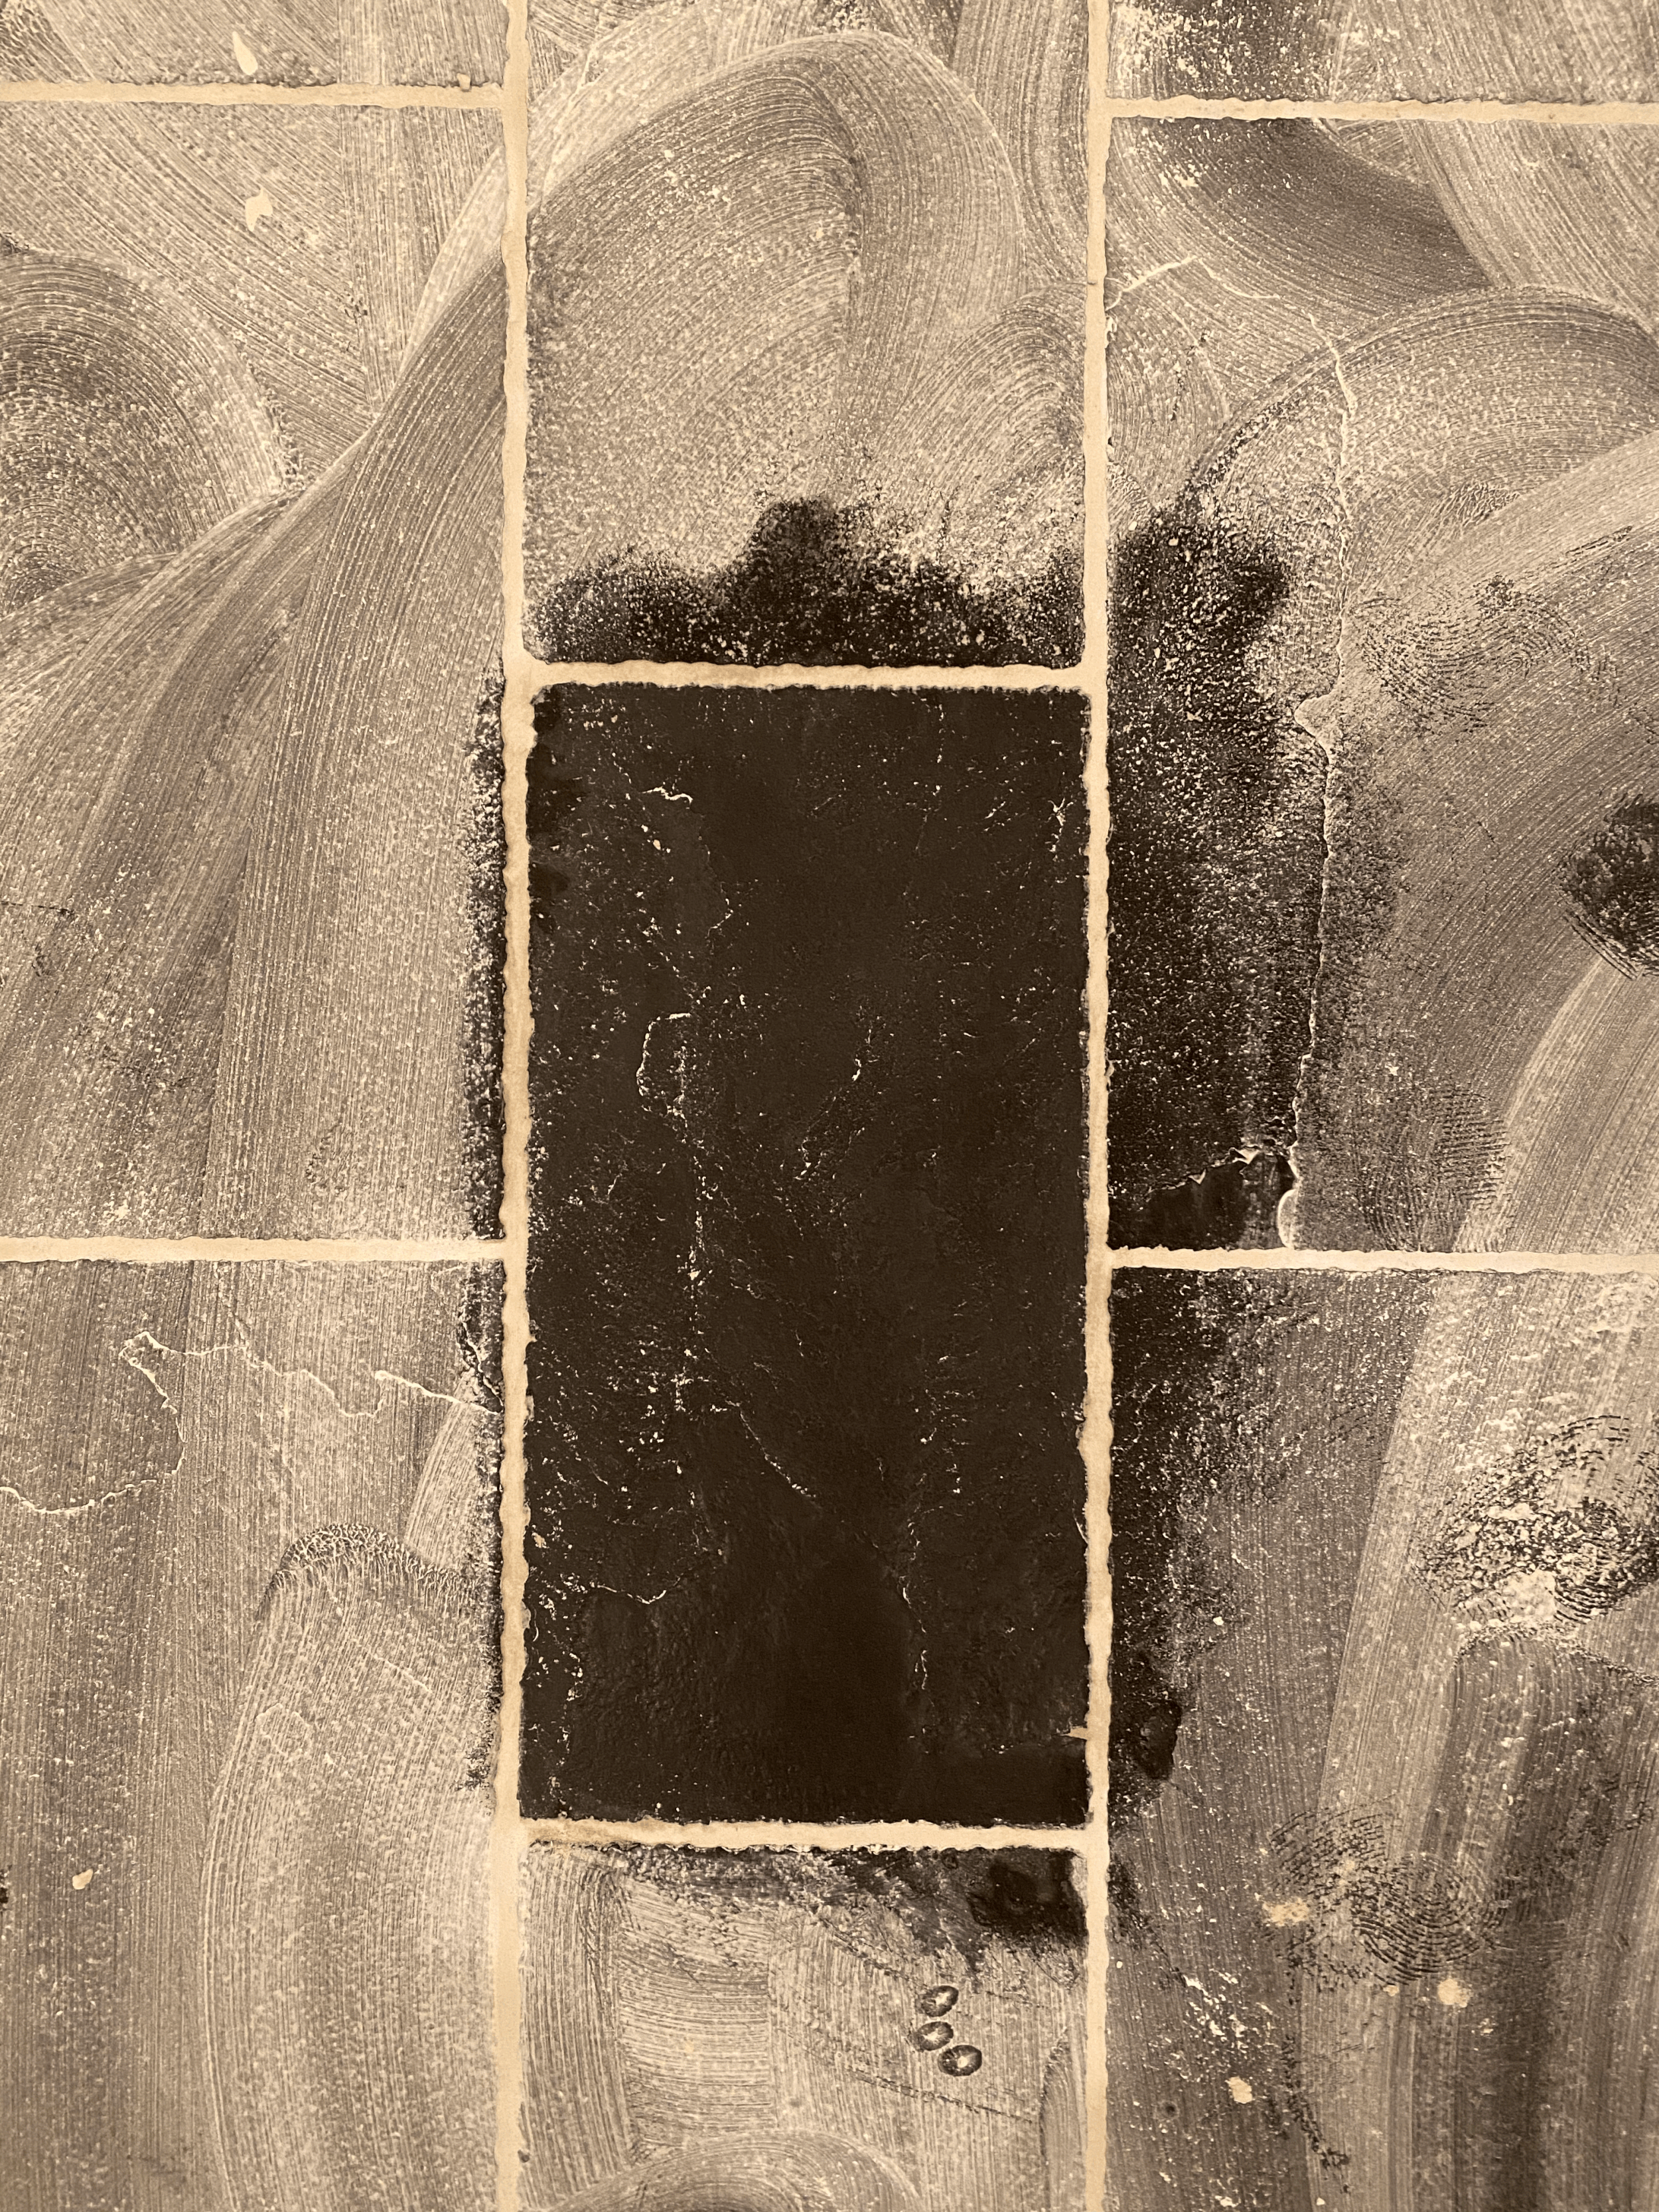
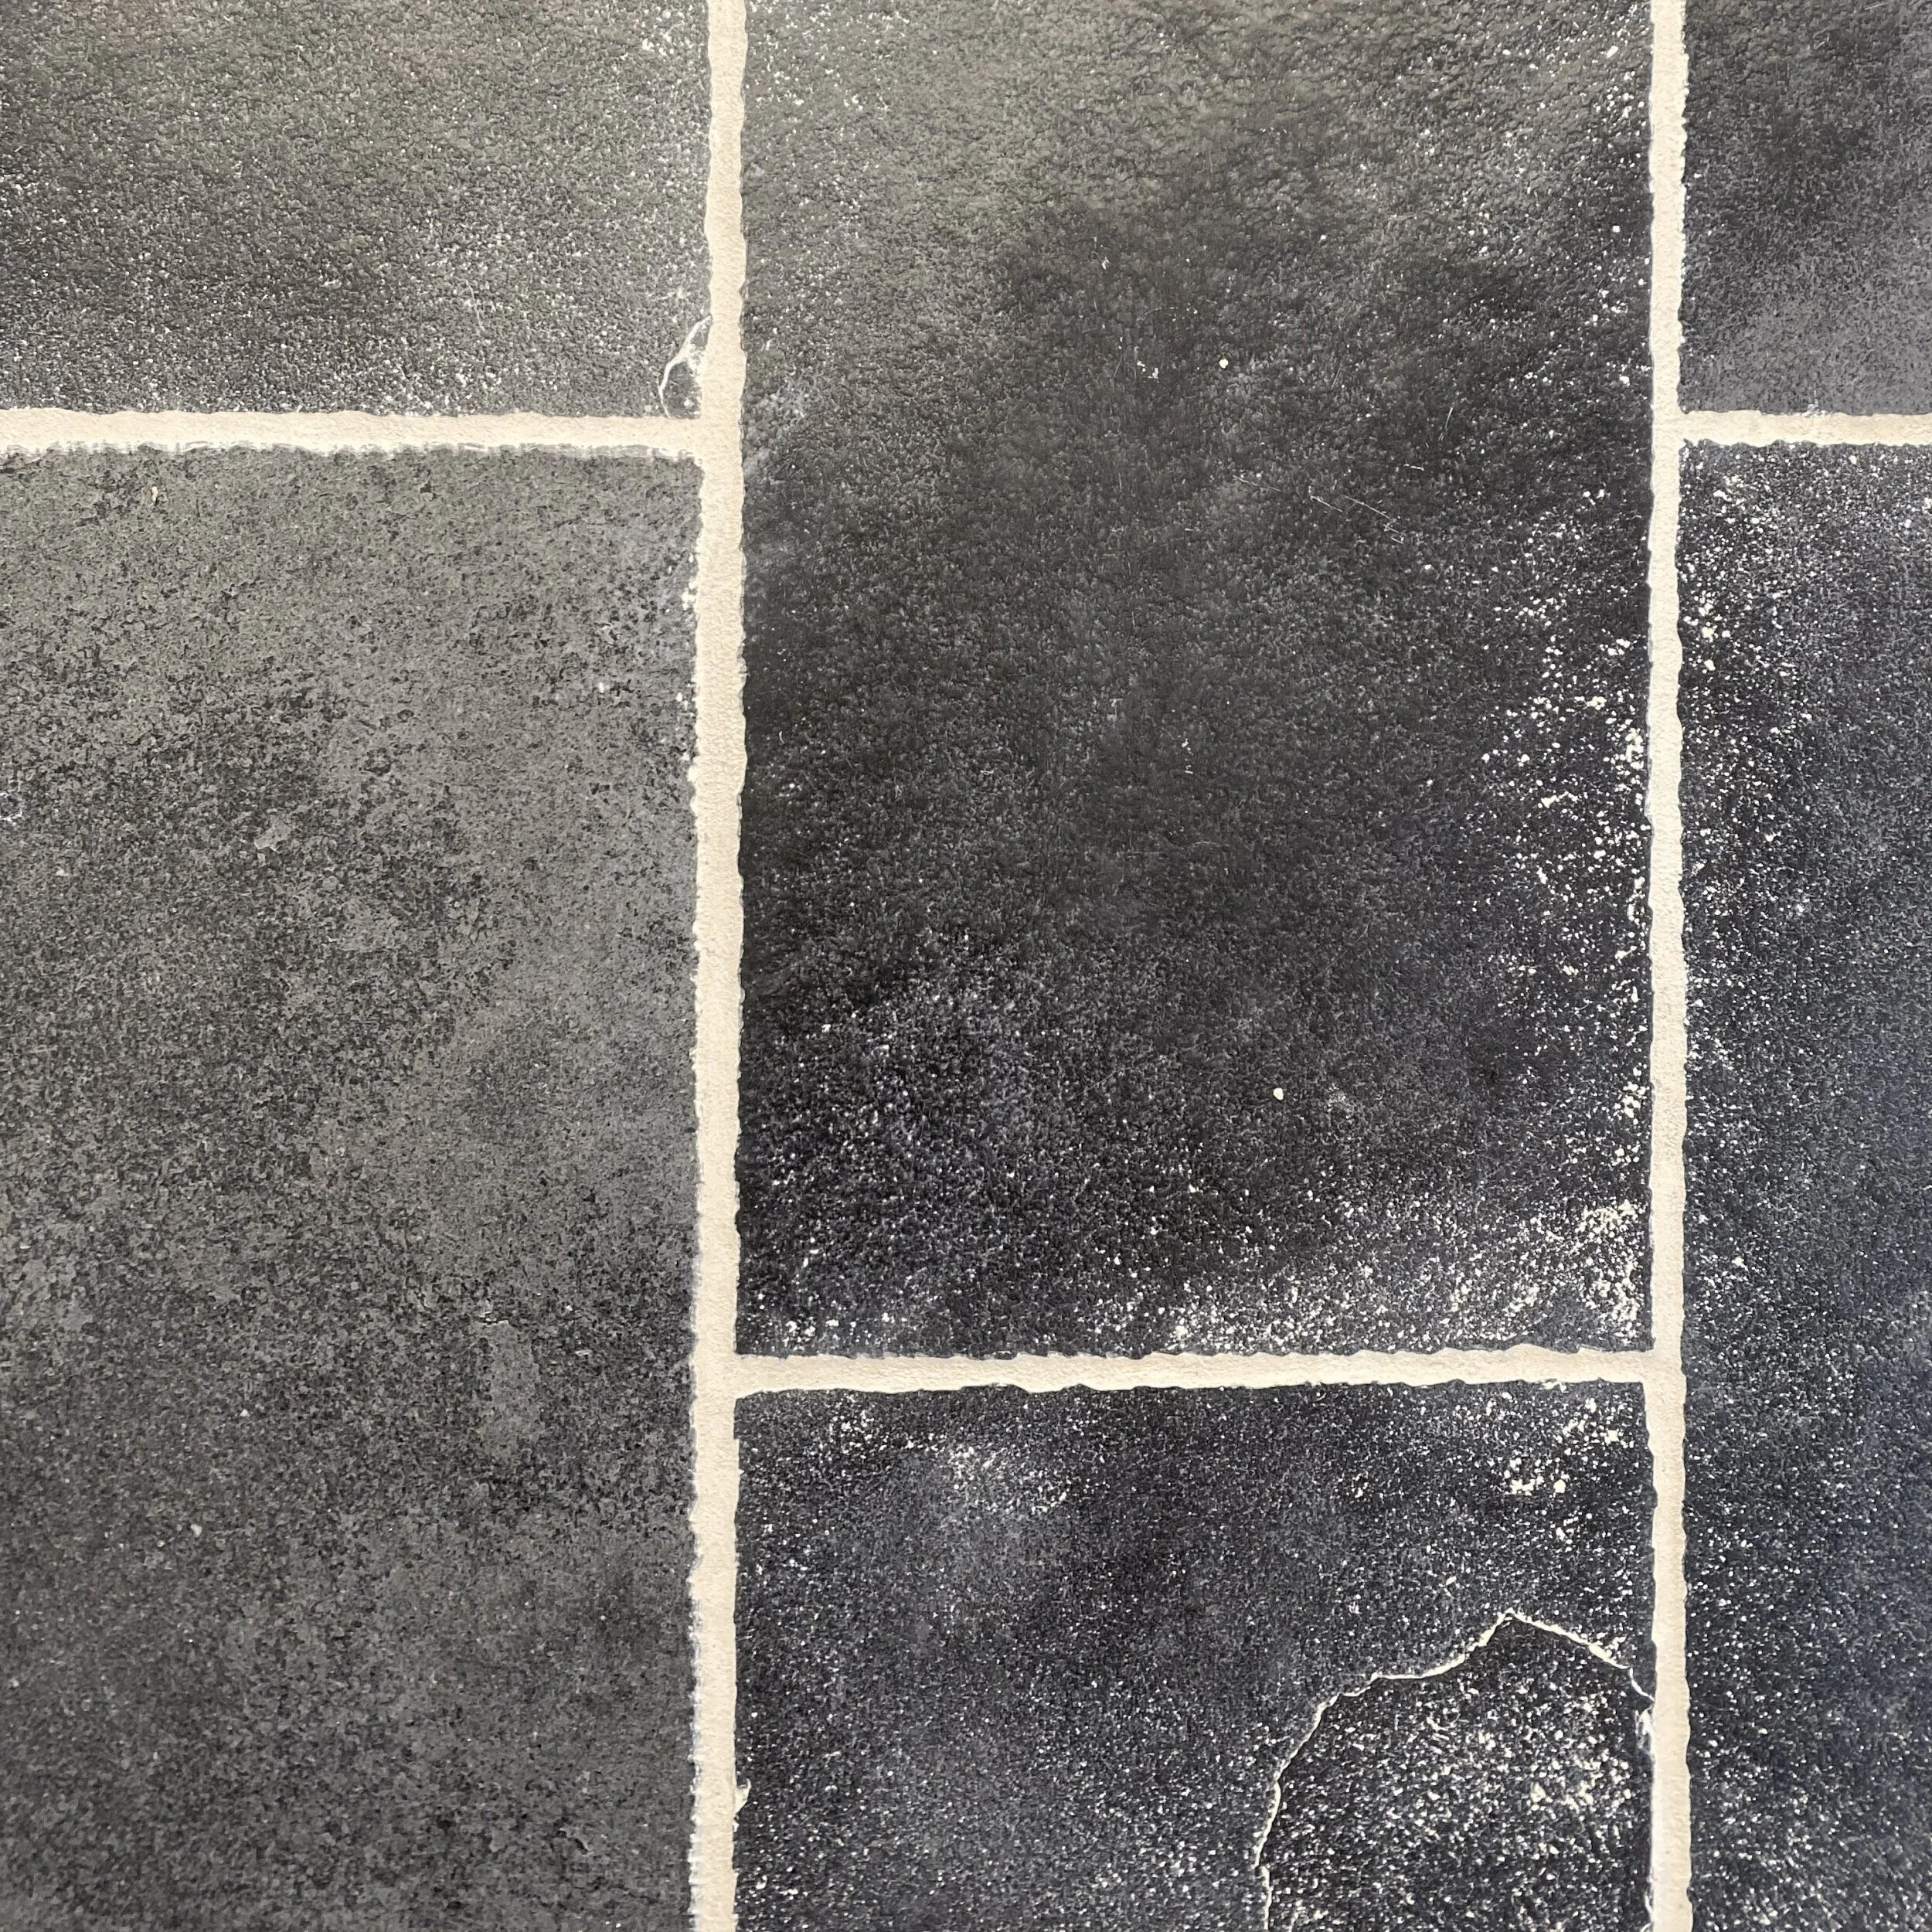
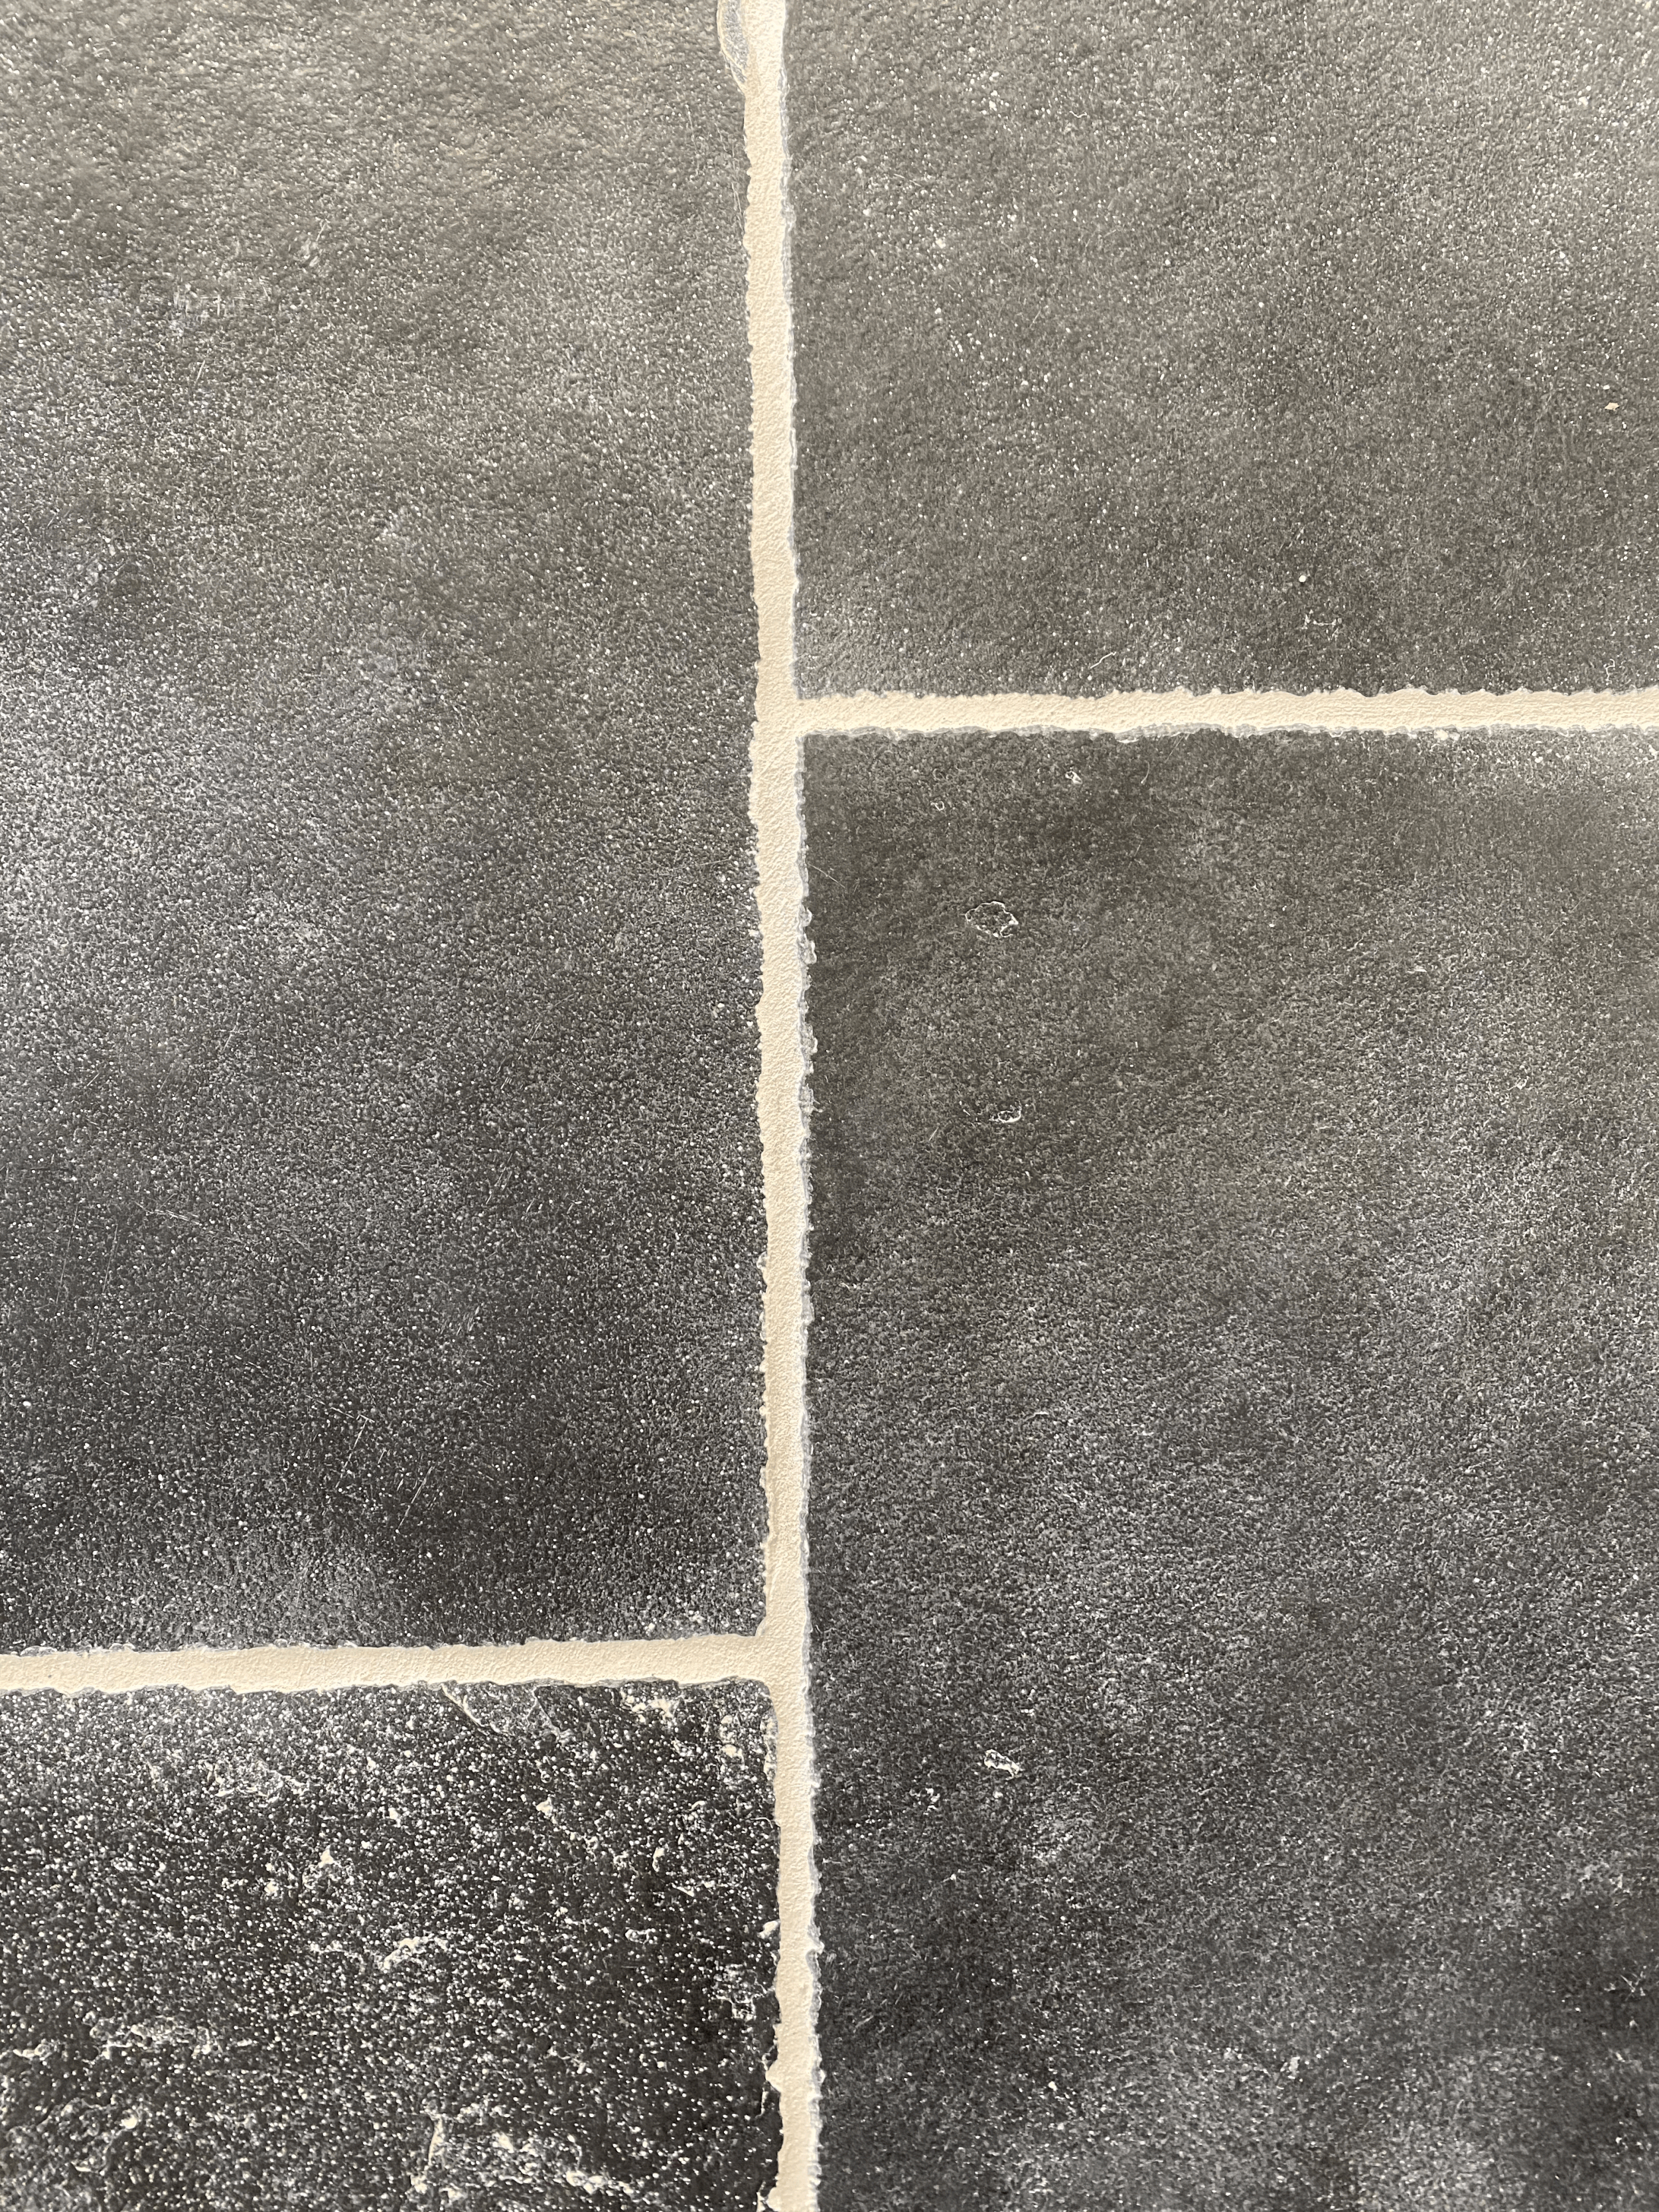
After finally resetting that last tile I had chiseled, it was time to grout! I didn’t want to go super white, but wanted to have a good contrast with the tile to show off the edges. I debated on a couple of different colors, but ultimately chose Mapei Alabaster. It’s such a versatile color! Slightly greige, not too warm or cool. The Mr. grouted for me, he knows I like to be surprised and I wanted him to do a section before I saw it (I had major nerves about my chiseling job. Here’s a progress shot…grout’s always a little scary because it dries so different!
We cleaned off one tile to see the true effect of the grout in the chiseled edges…
The next morning I re-sponged and mopped the floor a few times to get the excess grime off and here we are! I love it. Will I ever chisel tile by hand again? NOPE!


Comparison…
This next week we’ll be focusing on finishing up electrical! Cabinets were scheduled to come the end of May, but everyone is so backed up these days! I’m hoping to get them in ASAP so we can get the marble templated. We also still have the tongue and groove ceiling to do, so check back for more progress! You can also check here to see everyone else’s progress.
XO-
Whitney